


Apple have weakened the encryption of iOS. This update has caused many issues for Apple users, especially security related issues. Additionally, users with Linux OS were no longer able to connect and mount their iOS devices.
In this blog post, I will focus on solving the later issue, i.e. connecting Apple devices with iOS 10+ to any Linux distribution. The solution will be an easy trick that relies on having a virtual machine running a Windows OS.
You would need the following tools:
- VirtualBox
- VirtualBox Extension Pack
- Apple Original Cable (or a quality alternative such as Amazon‘s or ROCK‘s)
Without further ado, let’s start!
1) Install VirtualBox
The first thing to do is to install VirtualBox. Installing VirtualBox is piece of cake on Linux. All what you have to do is to execute the following command if you are running Debian, Mint or Ubuntu:
sudo apt-get install virtualbox
Or the below if you are running Cent OS/Fedora/RedHat:
sudo yum install VirtualBox-5.1
Alternatively, you can download VirtualBox from here and follow the instructions provided in the page.
2) Install VM Extension Pack
Once you have installed VirtualBox, you need to install VirtualBox Extension Pack. This is done by clicking on “All supported platforms” on VirtualBox’s Download page.
Once the download is done, double click on the downloaded file and install it.
3) Setup a Windows VM
Now, we have the core tools ready. What is missing is a Virtual Machine to run inside VirtualBox. Luckily, Microsoft provides a virtual machine for Windows 10 for free. To download the virtual machine, go to Microsoft’s Virtual Machines website, and then select “Microsoft Edge on Win 10 Stable” from Virtual Machine dropdown menu and “VirtualBox” from platform menu.
Unzip the downloaded file, and, then, double click on the virtual machine file. You will be prompted to configure the Virtual Machine, typically the default configuration is fine. Finally, start the virtual machine by selecting it and clicking on Start. In few seconds, you should see the virtual machine loading like the below picture.
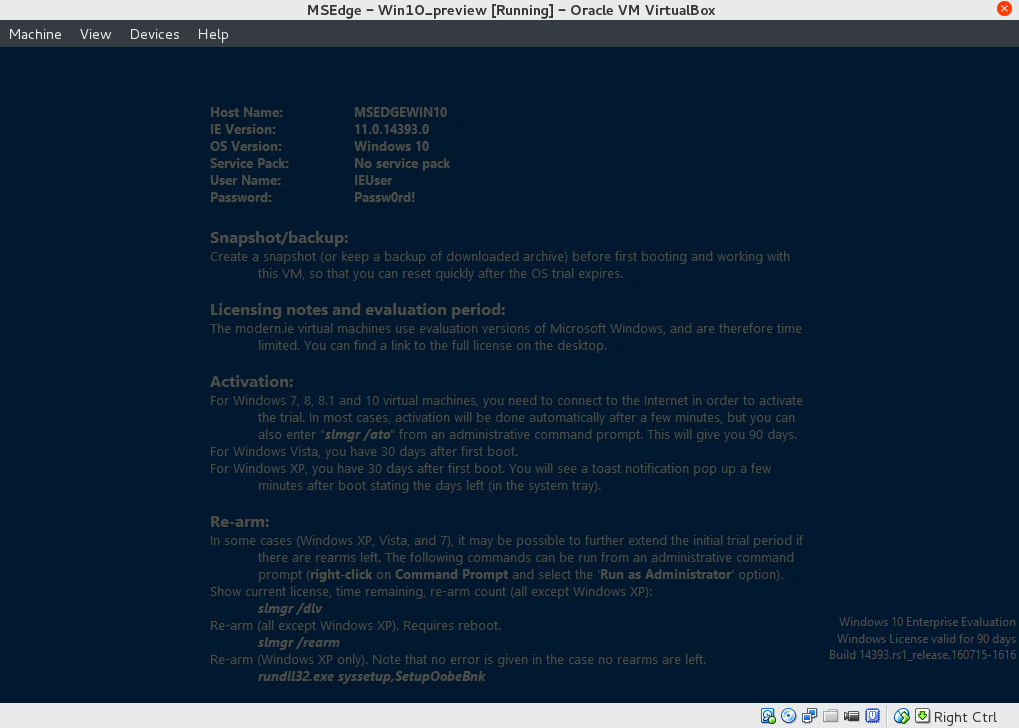
VirtualBox running Windows 10
4) Install Guest Additions
Once you got Windows running in VirtualBox, you need to install VirtualBox Guest Additions. You don’t need to download anything extra as VirtualBox comes bundled with VirtualBox Guest Additions. However, all what you need to do is install it in the virtual machine by clicking on, from virtual machine’s menu bar, Devices -> Insert Guest Additions CD image.
You should see a CD inserted into the virtual machine under “This PC”, as shown in the below picture. Double click on VirtualBox Guest Additions and install it. After the installation has finished, reboot the virtual machine.
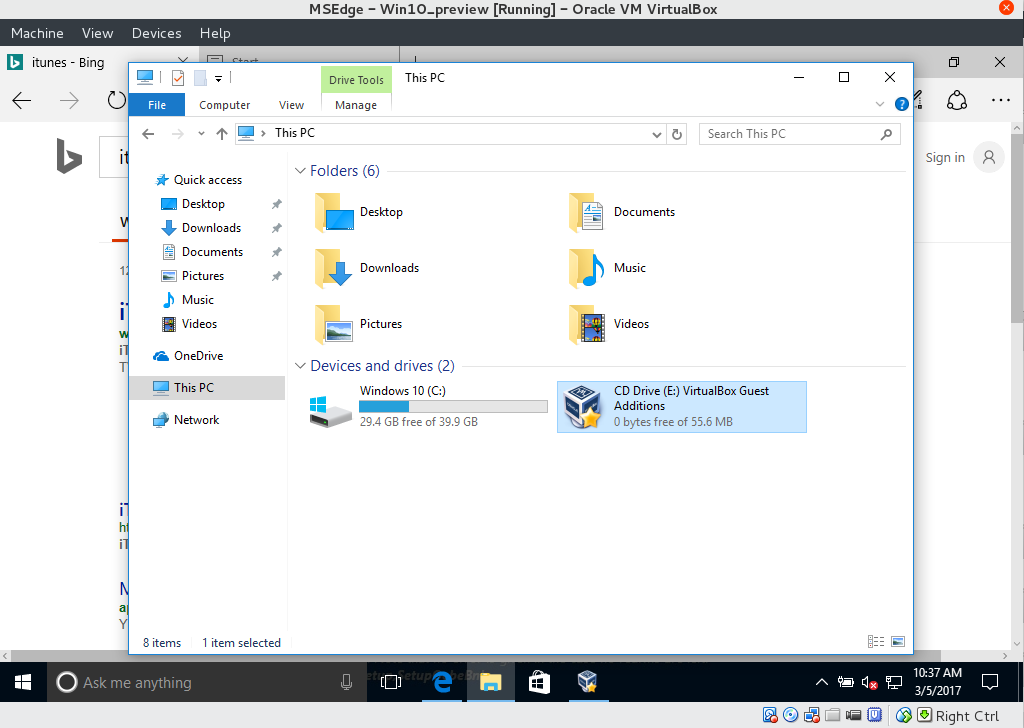
Installing Guest Additions on VirtualBox
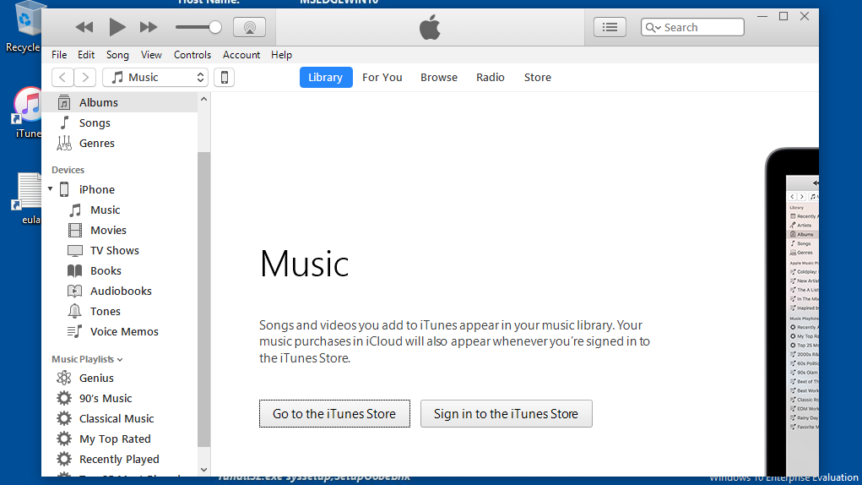
5) Install iTunes on Windows VM
Next, you need to install iTunes which can be downloaded from Apple’s website.
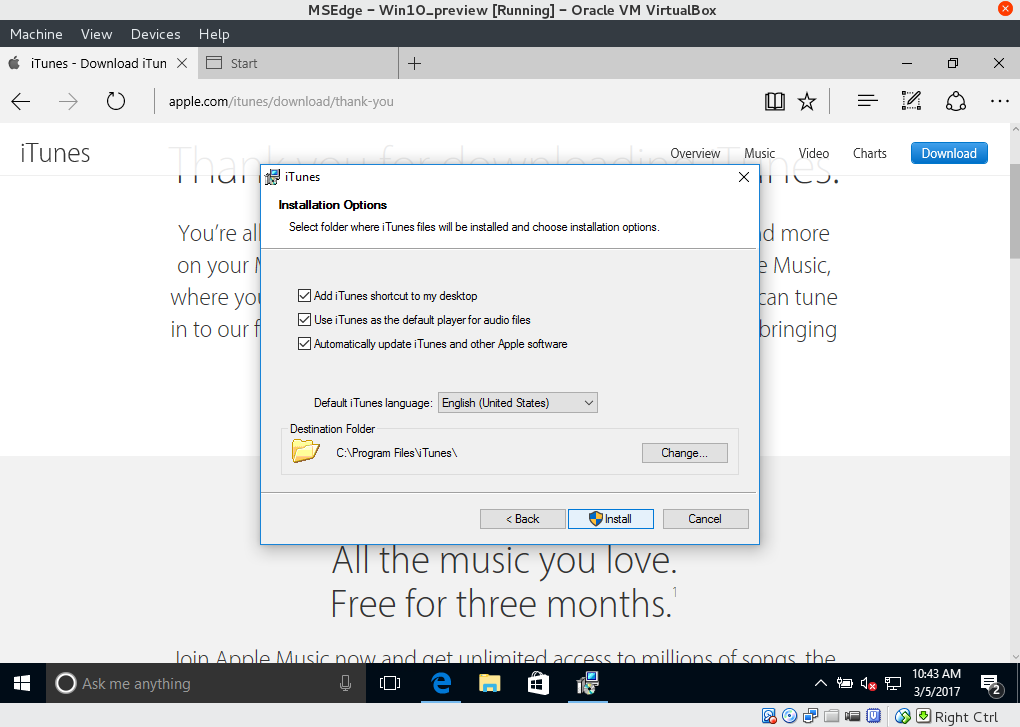
Installing iTunes on VirtualBox
6) Add Linux user to VirtualBox’s group
After you have installed all the software needed on the Virtual Machine, shut it down and let’s run few commands on the host – Linux-. The first command we will run is adding the current user into the group of VirtualBox users. Based on stackoverflow, this is done because the user must be in the VirtualBox’s group so it can recognise the connected devices. You can achieve this by executing the command below in the host’s terminal:
sudo adduser $USER vboxusers
7) Virtual Machine’s USB settings
Let’s now configure the USB settings for connecting the iOS device to the virtual machine. First, let’s enable USB connectivity by right clicking on the virtual machine and choosing Settings. From the right panel in Settings, go to USB and tick both boxes as shown in the picture.
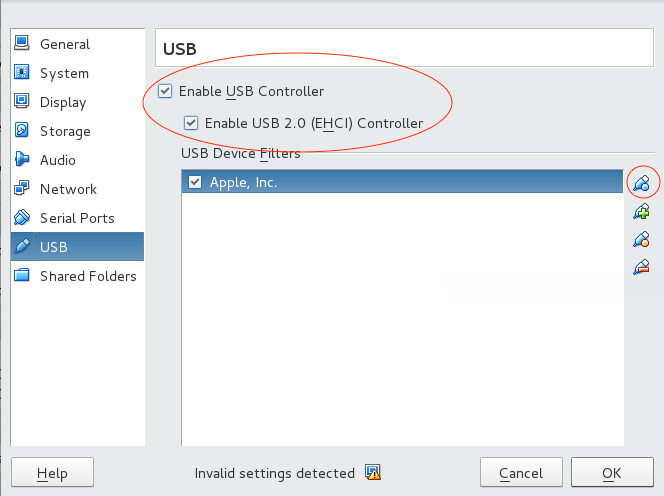
Enable USB settings in VirtualBox
Thereafter, you need to define a rule for automatically connecting your iOS device into the virtual machine. Before adding the rule, you need to know the Vendor ID and Product ID of your device. To do so, connect your device to your host and run the following command in terminal:
lsusb
You should get an output similar to the image below:
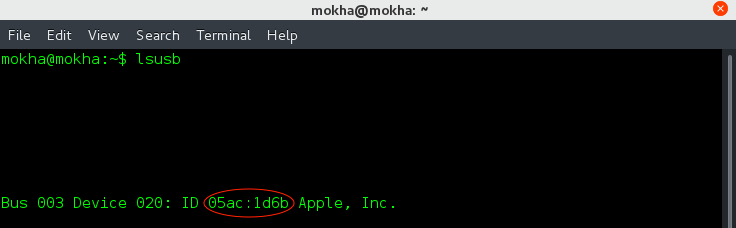
List all connected USB devices to linux
What we are really interested in is the two numbers circled in red. After having the information we need, let’s add the auto-connect USB rule. This is done by clicking on “Add a new USB filter with all fields” (the icon with blue circle, which is circled by red in the above picture) and inputting the information as in the next image.
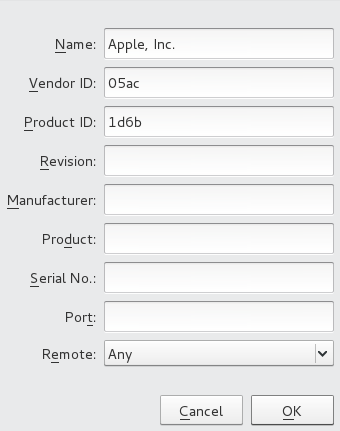
Defining auto-connect rules in VirtualBox
8) Connect your iOS device
Finally, connect your iOS device (e.g. iPhone in my case) into your machine and start the virtual machine. You will notice that the device is getting connected and the required drivers are being installed. Afterwards, run iTunes and you will be able to access your iOS device like the picture below.
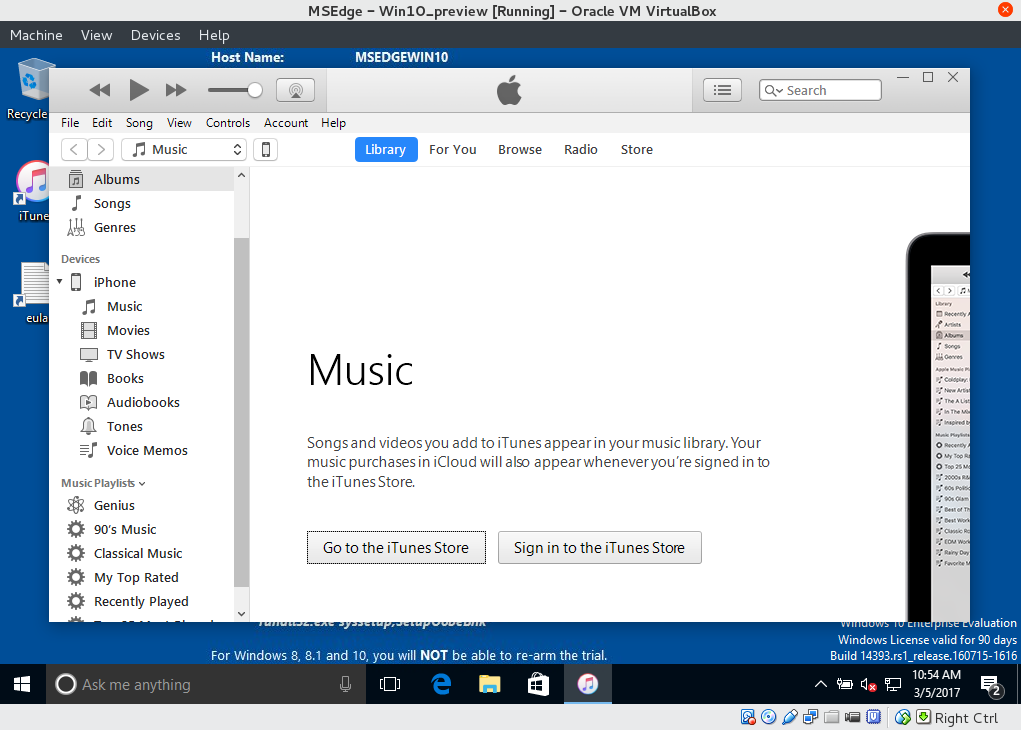
Connected iPhone to VirtualBox
9) Take a Snapshot of Virtual Machine
The virtual machine provided by Windows doesn’t have a valid license, i.e. it will expire in 90 days. Hence, you need to take a snapshot of the virtual machine at its current stage as we have everything setup and working. This is done by going to the virtual machine’s menu and choosing Machine -> Take Snapshot. Whenever the 90 days pass, revert back into this snapshot to regain an additional 90 days.
Note: Anything (data, applications, settings, iTunes backup,… etc) added to the machine after taking the snapshot will be removed once you revert to the snapshot back.
10) Create a shared folder [BONUS]
In case you want to copy files (photos, backups … etc) from the virtual machine into your host, you need to create a shared folder between your host (Linux) and the virtual machine (Windows). Ubuntu has a great webpage explaining the instructions of creating such a shared folder in details.
* (This post contains affiliate links. Please read my disclosures for more details).
Share this Post